The humble speedlight is a truly amazing tool for us photographers, even more so today with the advanced systems available and cameras that have great low light capability.
Speedlights give us the ability to craft and use light, where it might not otherwise be. And they allow us to do this in the most compact and portable way. Insider tip – I shoot probably 80% of my commercial and portrait work using just one speedlight with a modifier. Here’s just a few examples.
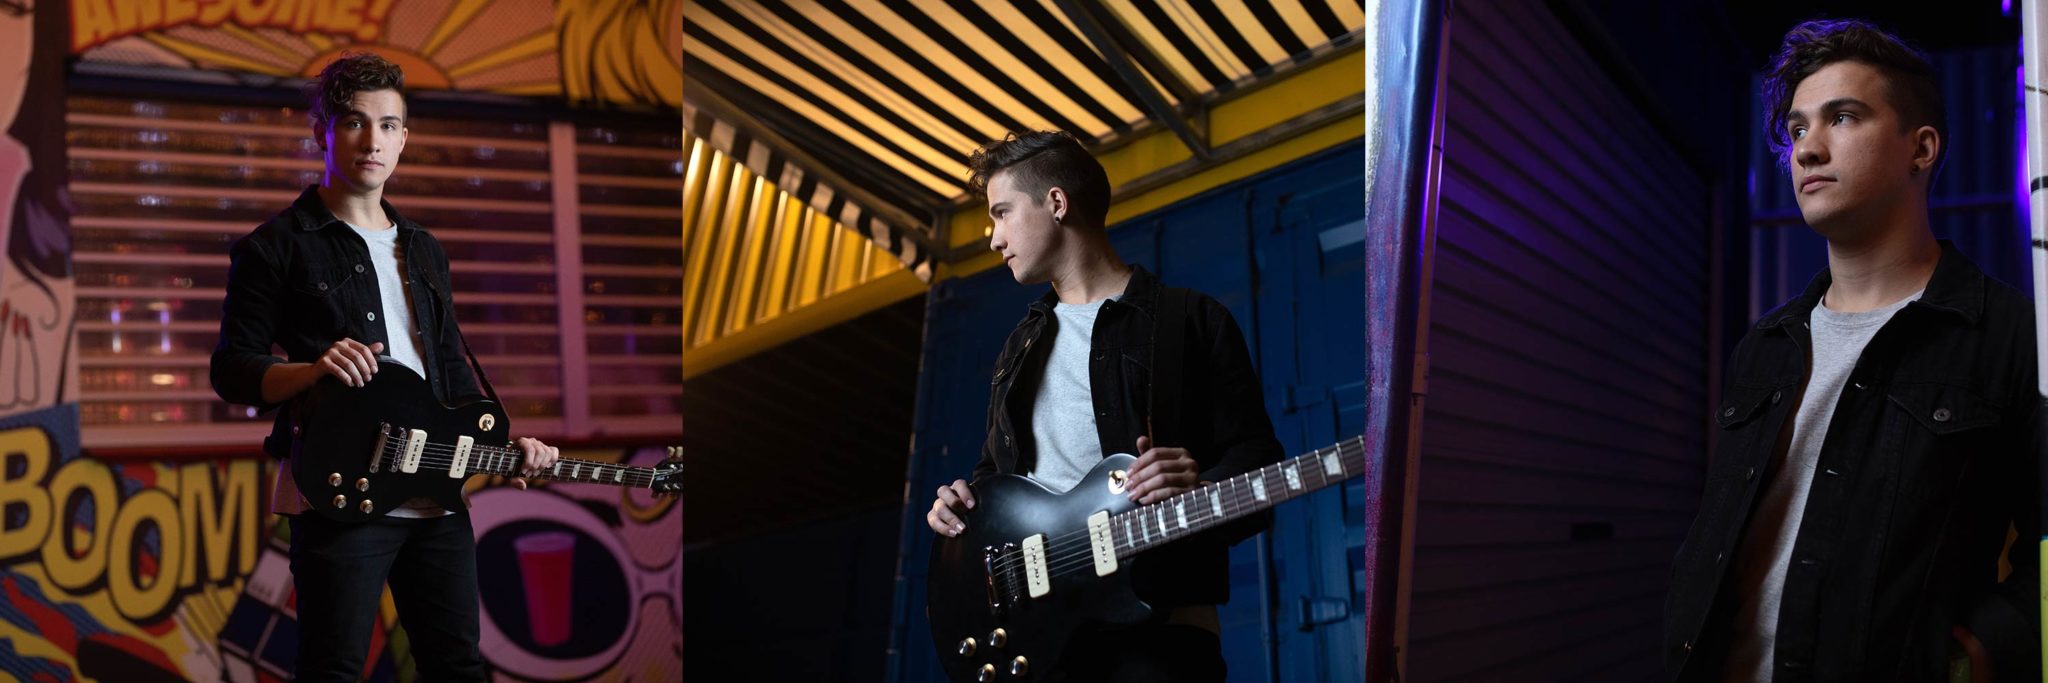
Note that you can often use any available lighting to your advantage – see the blue backlight on the guitarist. Always be open to how you can use other light sources in the scene from blue light like this example, right through to using the sun as you backlight.


Here’s the thing – do not fear the speedlight!
Sometimes you hear the “true ethos of photography” mean you must only use available light. Probably espoused by people who only shoot film and listen to vinyl 🙁 This is crazy talk! Light is light and it comes in various flavours and types. Speedlights can enhance our photos and make them really pop. They are simply tools we have in our kit to help us create our vision.
That said, they do have some limitations so here are my 3 cardinal rules for using speedlights.
![]()
You can’t light an entire scene with a speedlight
You need really powerful studio flashes to light entire scenes and that is not what speedlights are designed for. The classic example of this is when a camera set to auto lights up a person like a deer in the headlights, and the background is a dark abyss. Speedlights will light your subject, but you need to expose correctly for everything else. Leading to….
![]()
set your camera to expose for the ambient light or the background
This is the first step and is always my initial consideration when shooting a subject that I will light with a speedlight. Decide on how light or dark you want your background. This is done via the holy trinity of camera settings – aperture, shutter speed and ISO.
![]()
once background exposure is set, dial in the amount of flash
The second step is, once background exposure is set, dial in the amount of flash to sufficiently light your subject. This is a feel thing with no particular rules. Just try some settings to see how it looks. Also, see this article we’ve written all about shooting portraits with speedlights.
How much flash you need can vary on a number of factors, but here are a few:
Have a look at this series of shots I took to demonstrate.

Note how the background gets lighter and lighter as I open up the aperture. All other settings stay the same. The background goes more out of focus as well which I find pleasing for portraits. I have dialled in the speedlight at each setting to light the subject. Note that as I opened up the aperture, I had to keep reducing the power of the speedlight to get the right exposure on the subject.
There is no right or wrong here, although personally I much prefer lighter backgrounds that are out of focus. Unless you’re going for a really dramatic look, dark backgrounds often look amateurish and poorly done.
That’s a simple set of tips that will ensure you get the best results from using your speedlights. With practice, you will find all sorts of find ways to use them and be rewarded with amazing looking images.
Recommended for further reading…